Launching profilers in Compute Cluster
enabled environments
In Compute Cluster enabled environments, after you set up
the Kubernetes profiler node group, the Profiler Launcher Service (PLS) keeps
checking the availability of the node group automatically. Once the node group is
ready, the PLS provisions the selected profilers by starting CRON jobs in the
Kubernetes node groups.
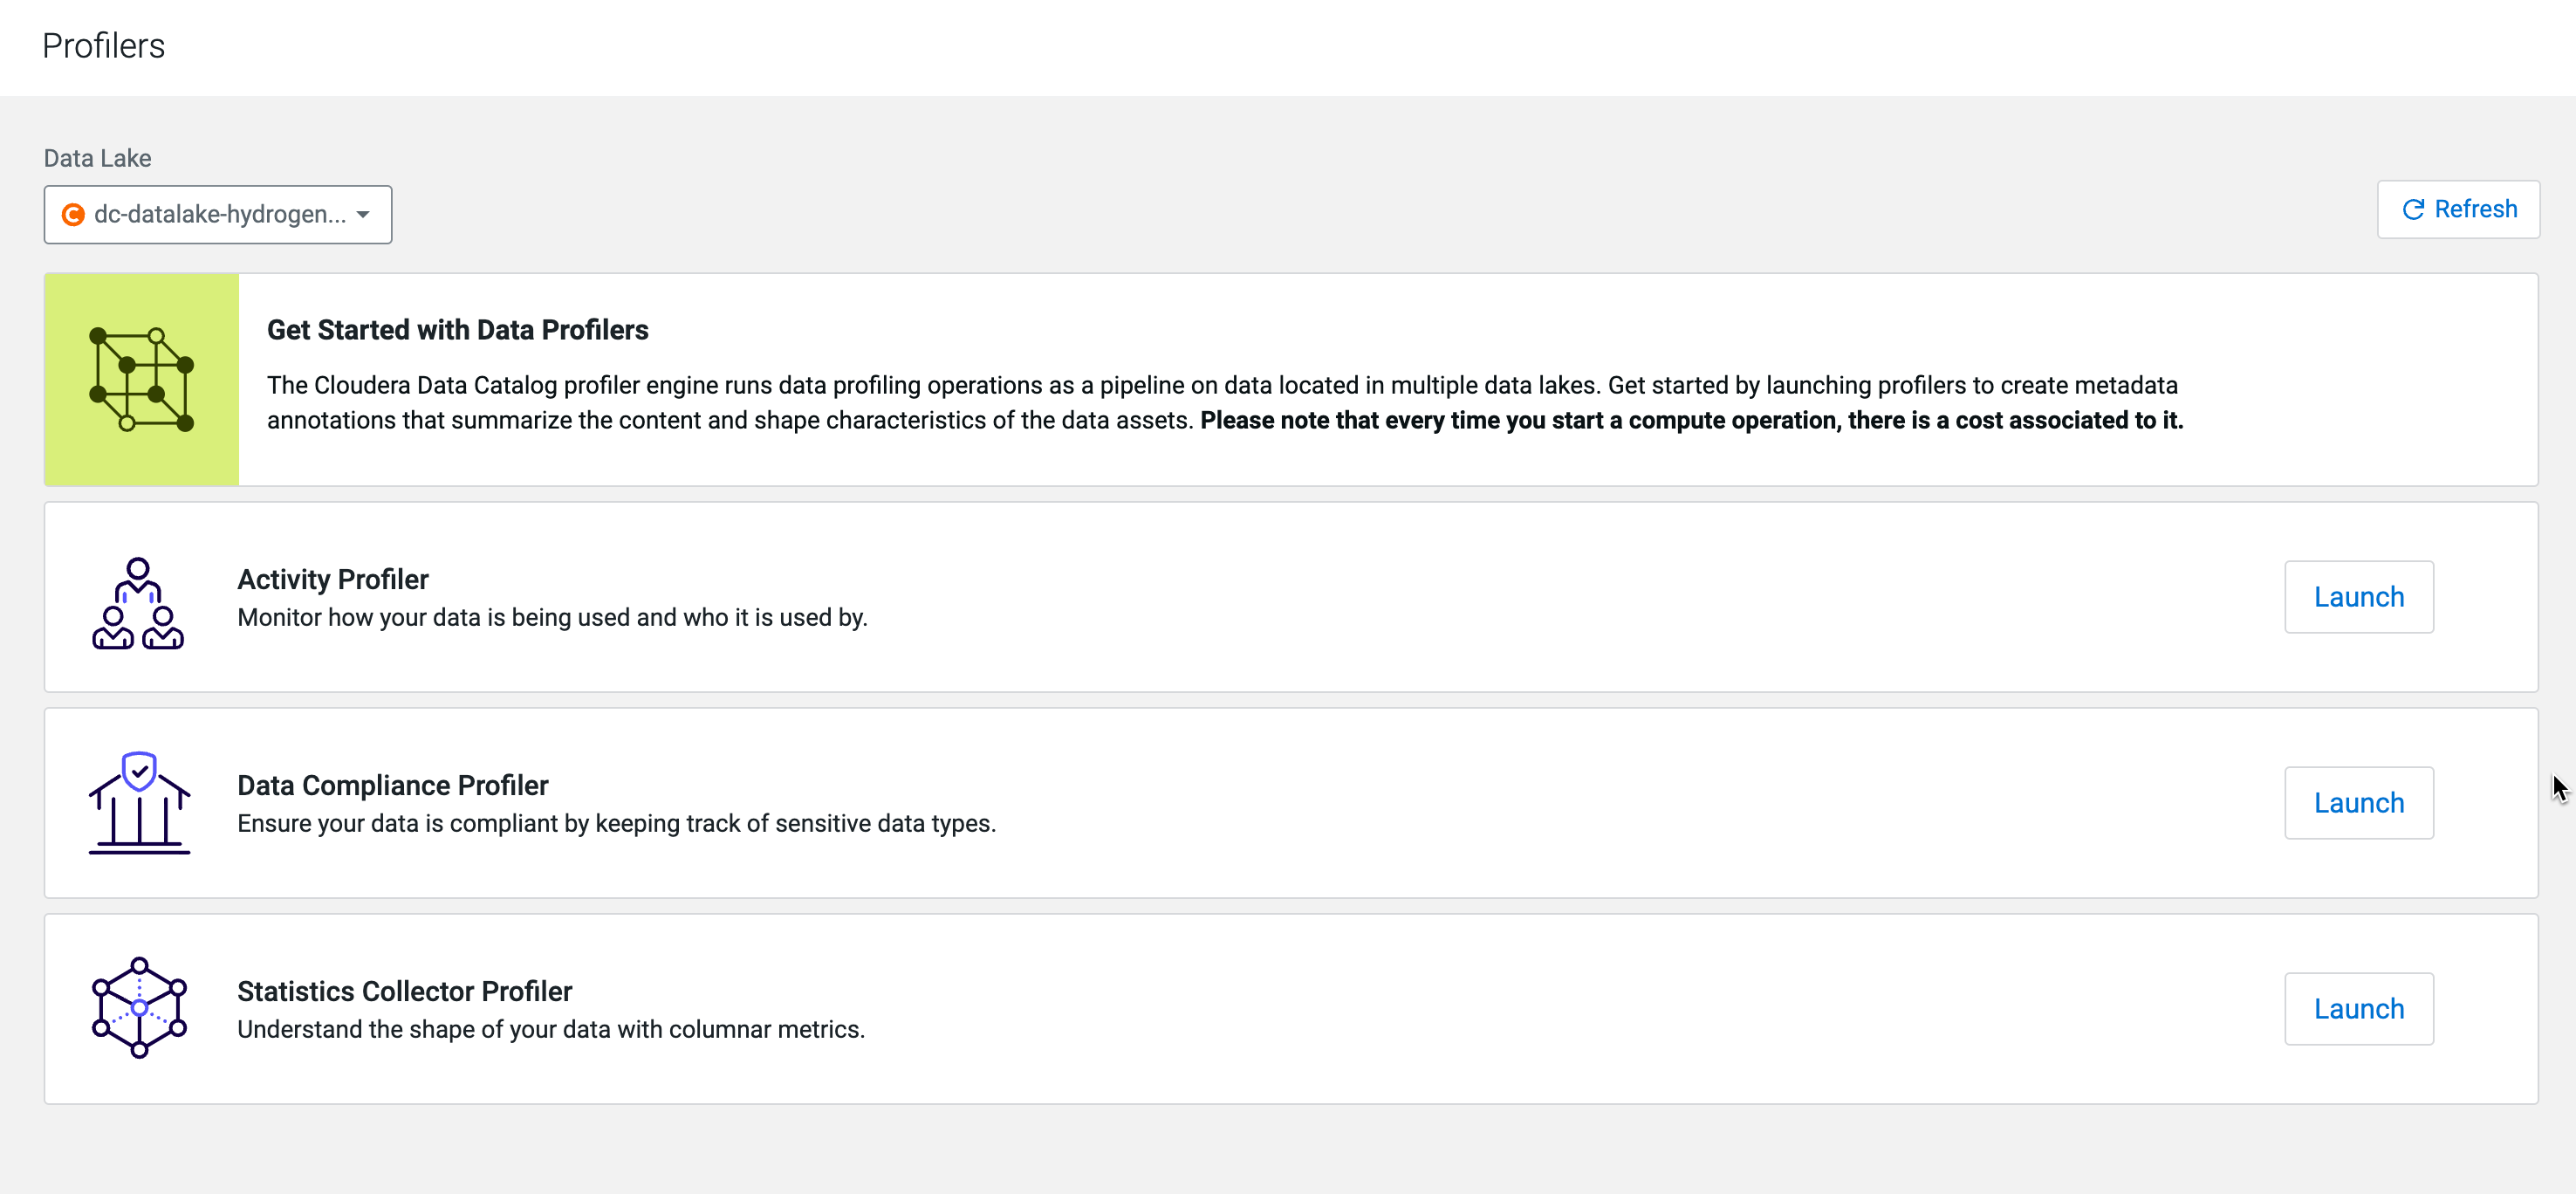
How to launch the profiler for Compute Cluster enabled environments
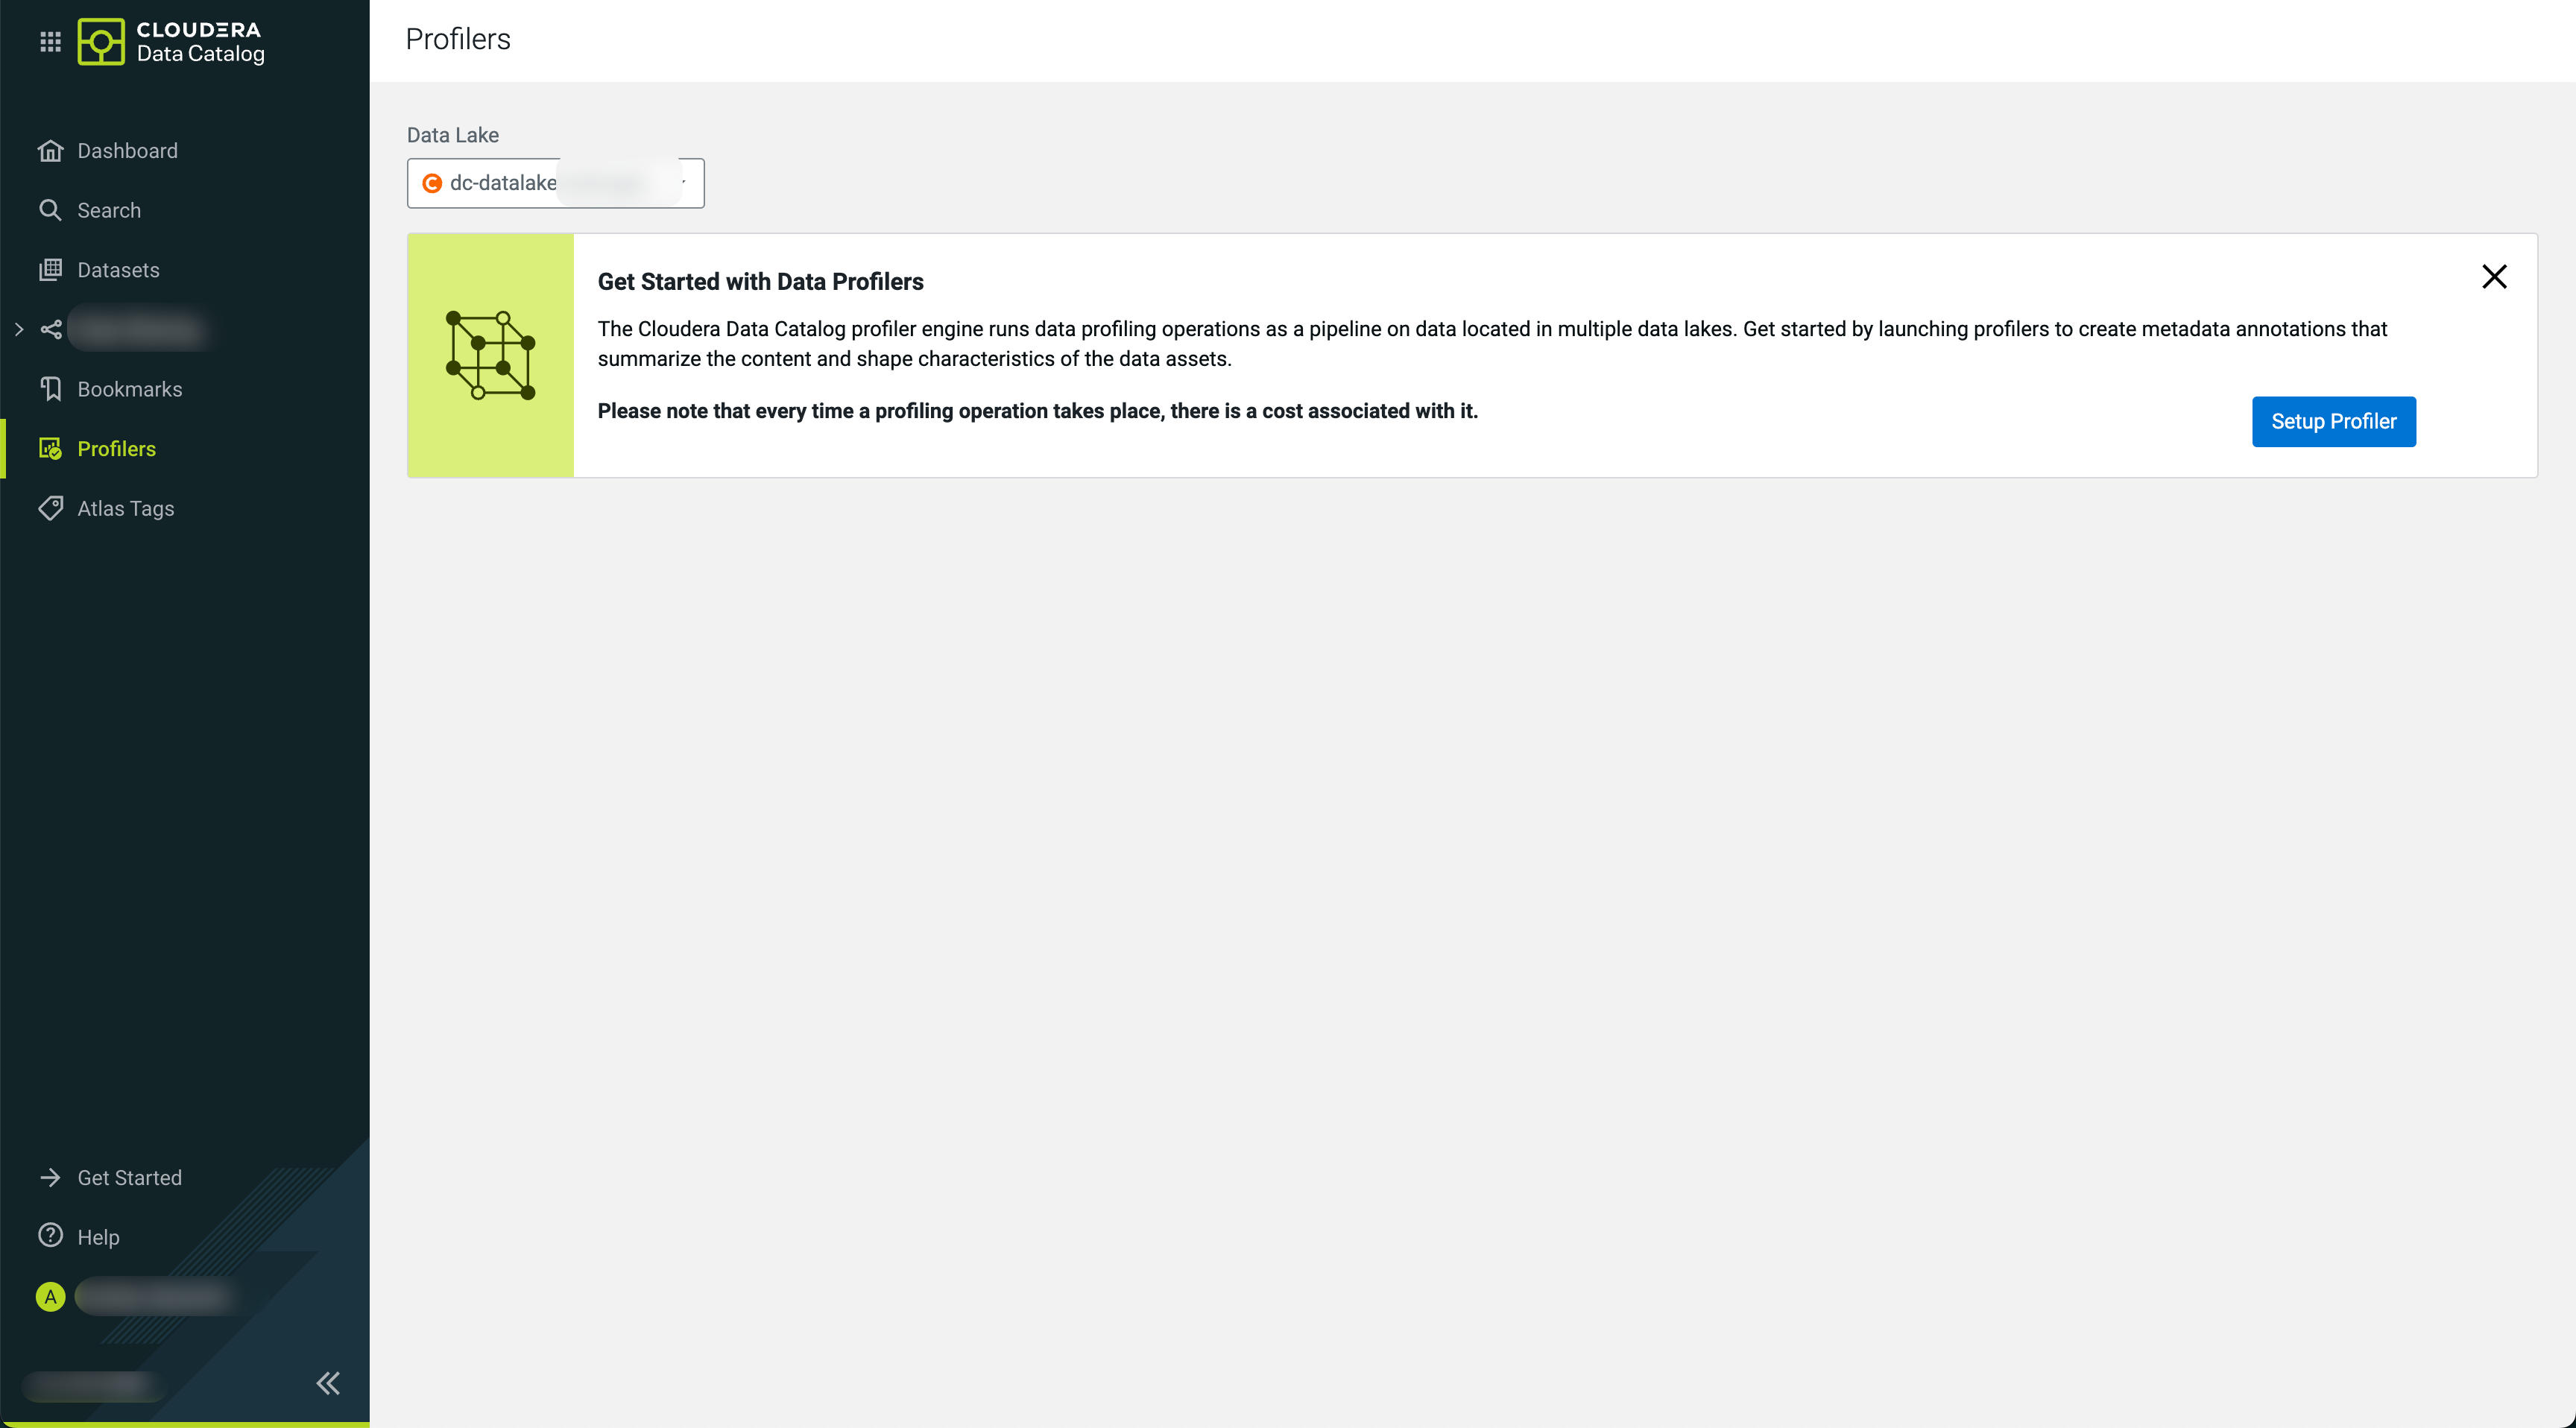
On the Profilers page, select the Data Lake from which you
want to launch the profiler cluster.
Click Setup Profiler, to start the profiler cluster
setup.
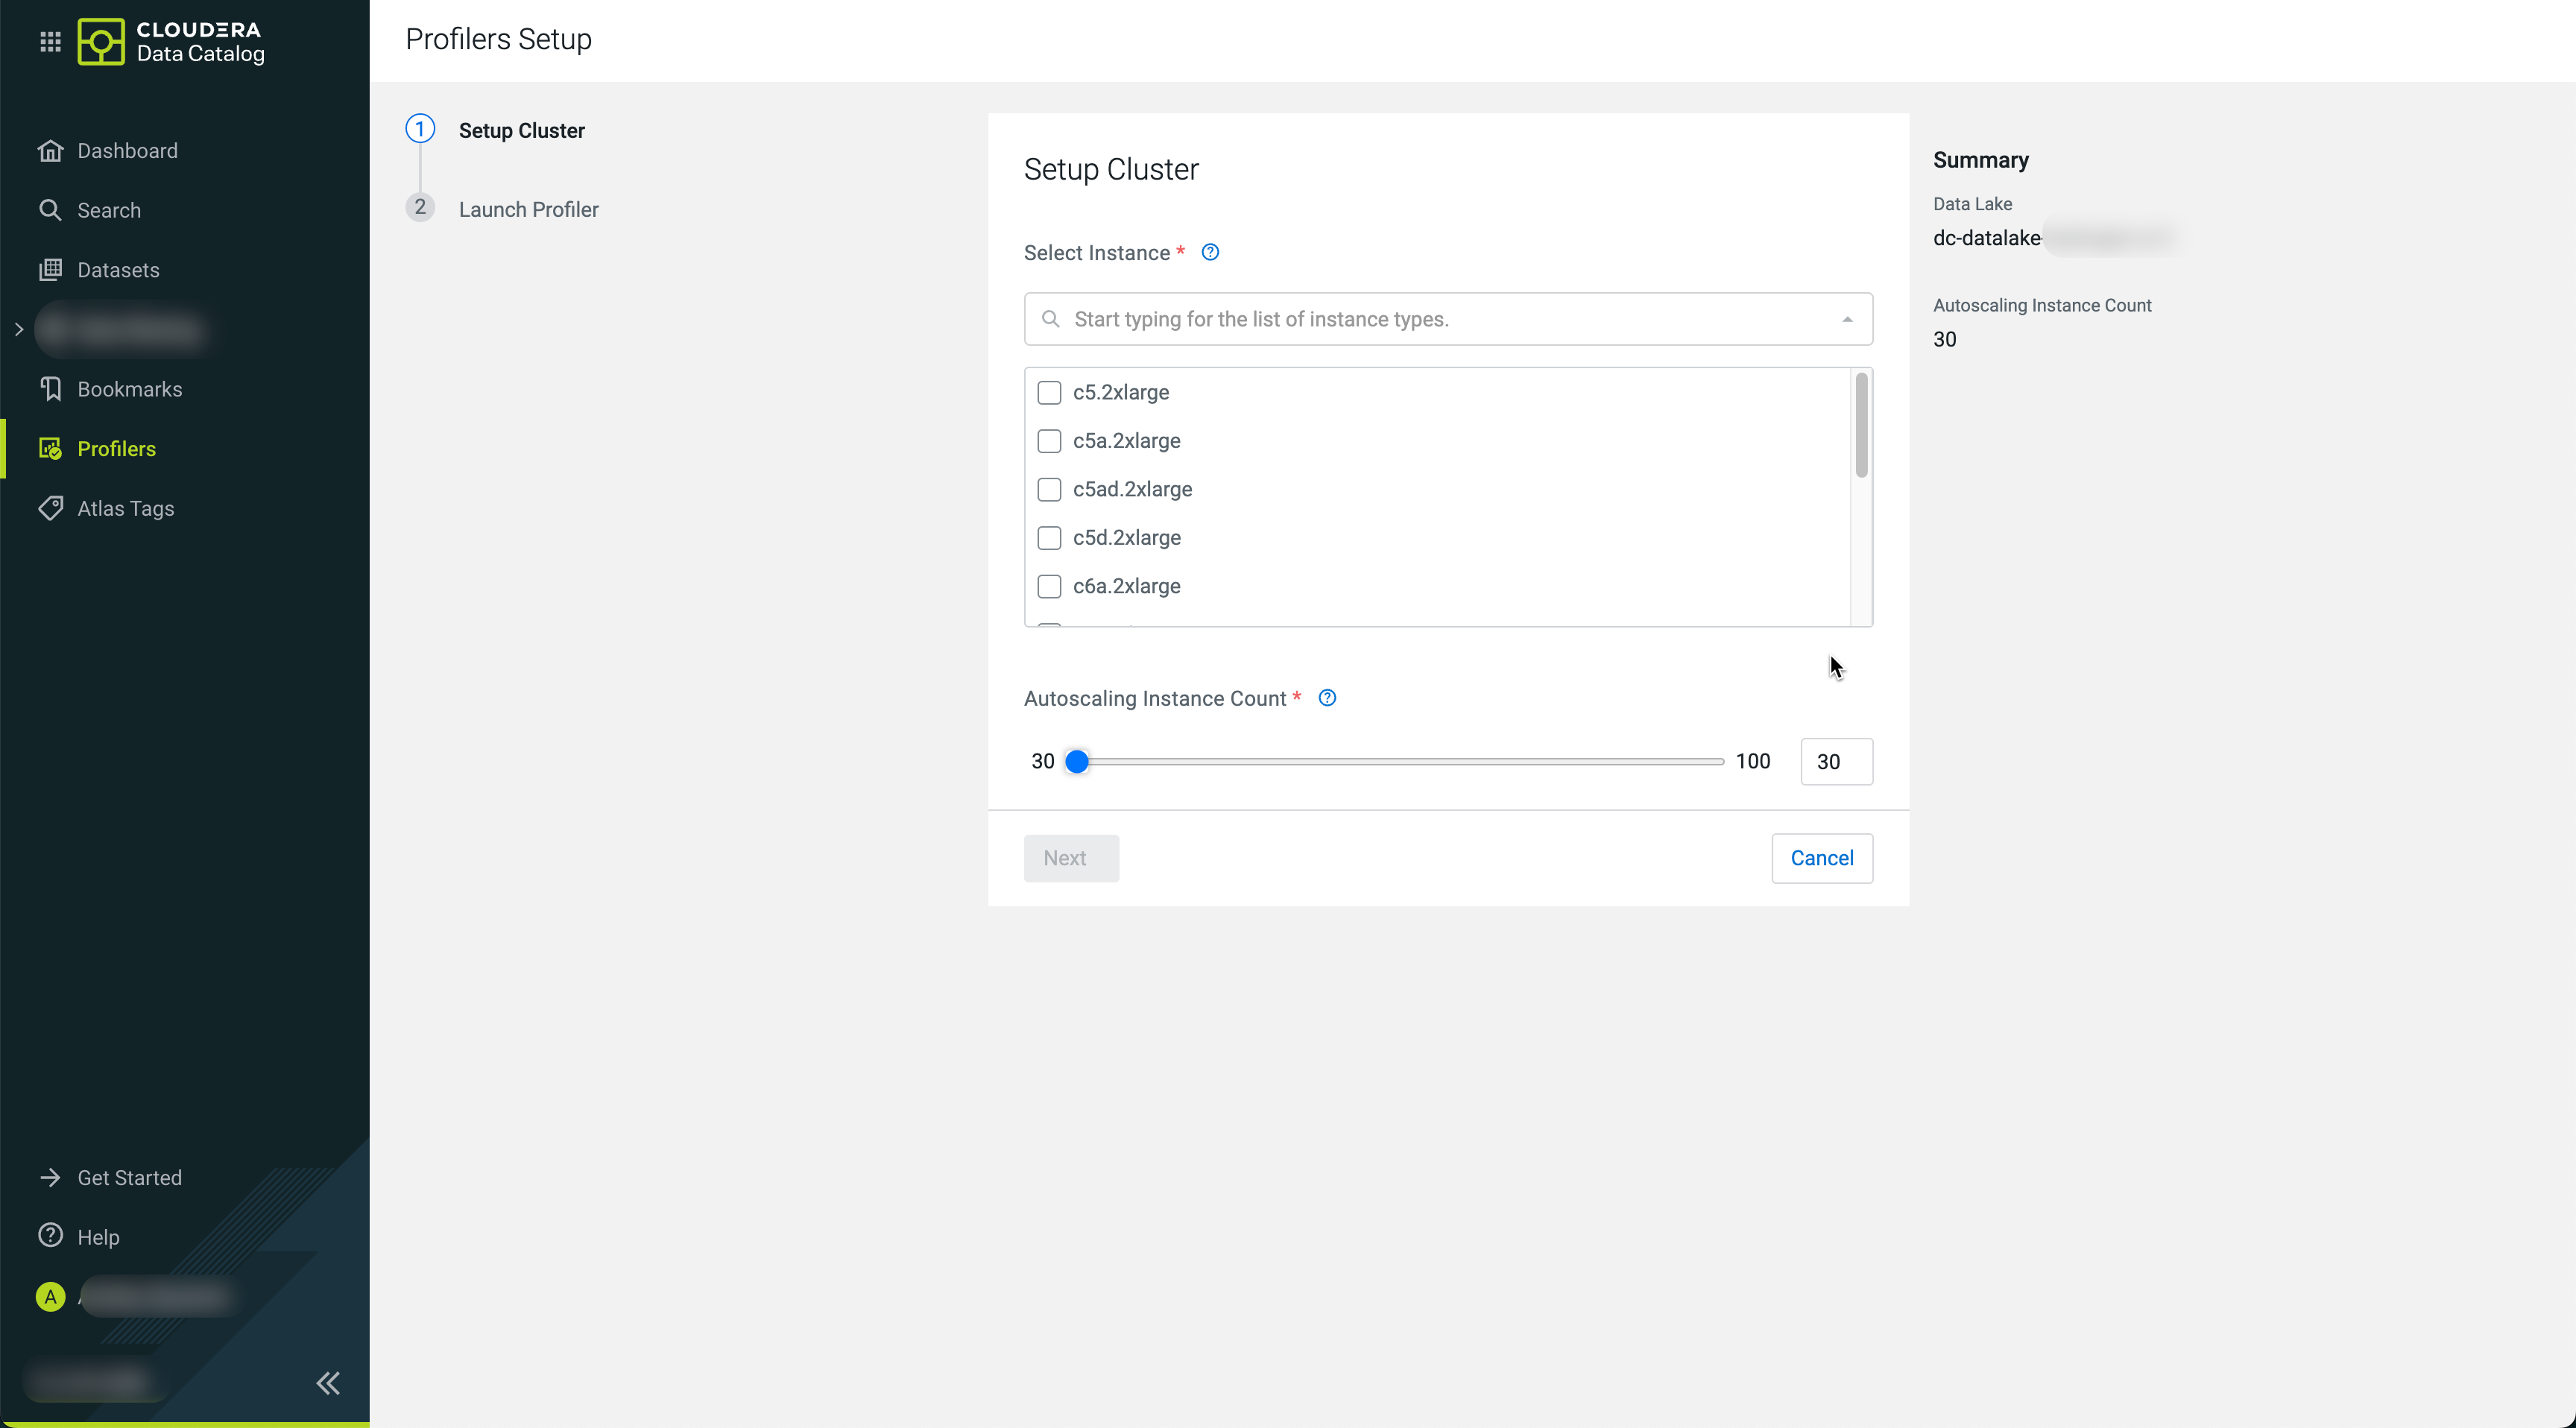
In Setup Cluster, search for the required instance
types:The available instance types depend on the cloud provider of the
underlying environment. Choose from them based on your performance and cost
requirements.
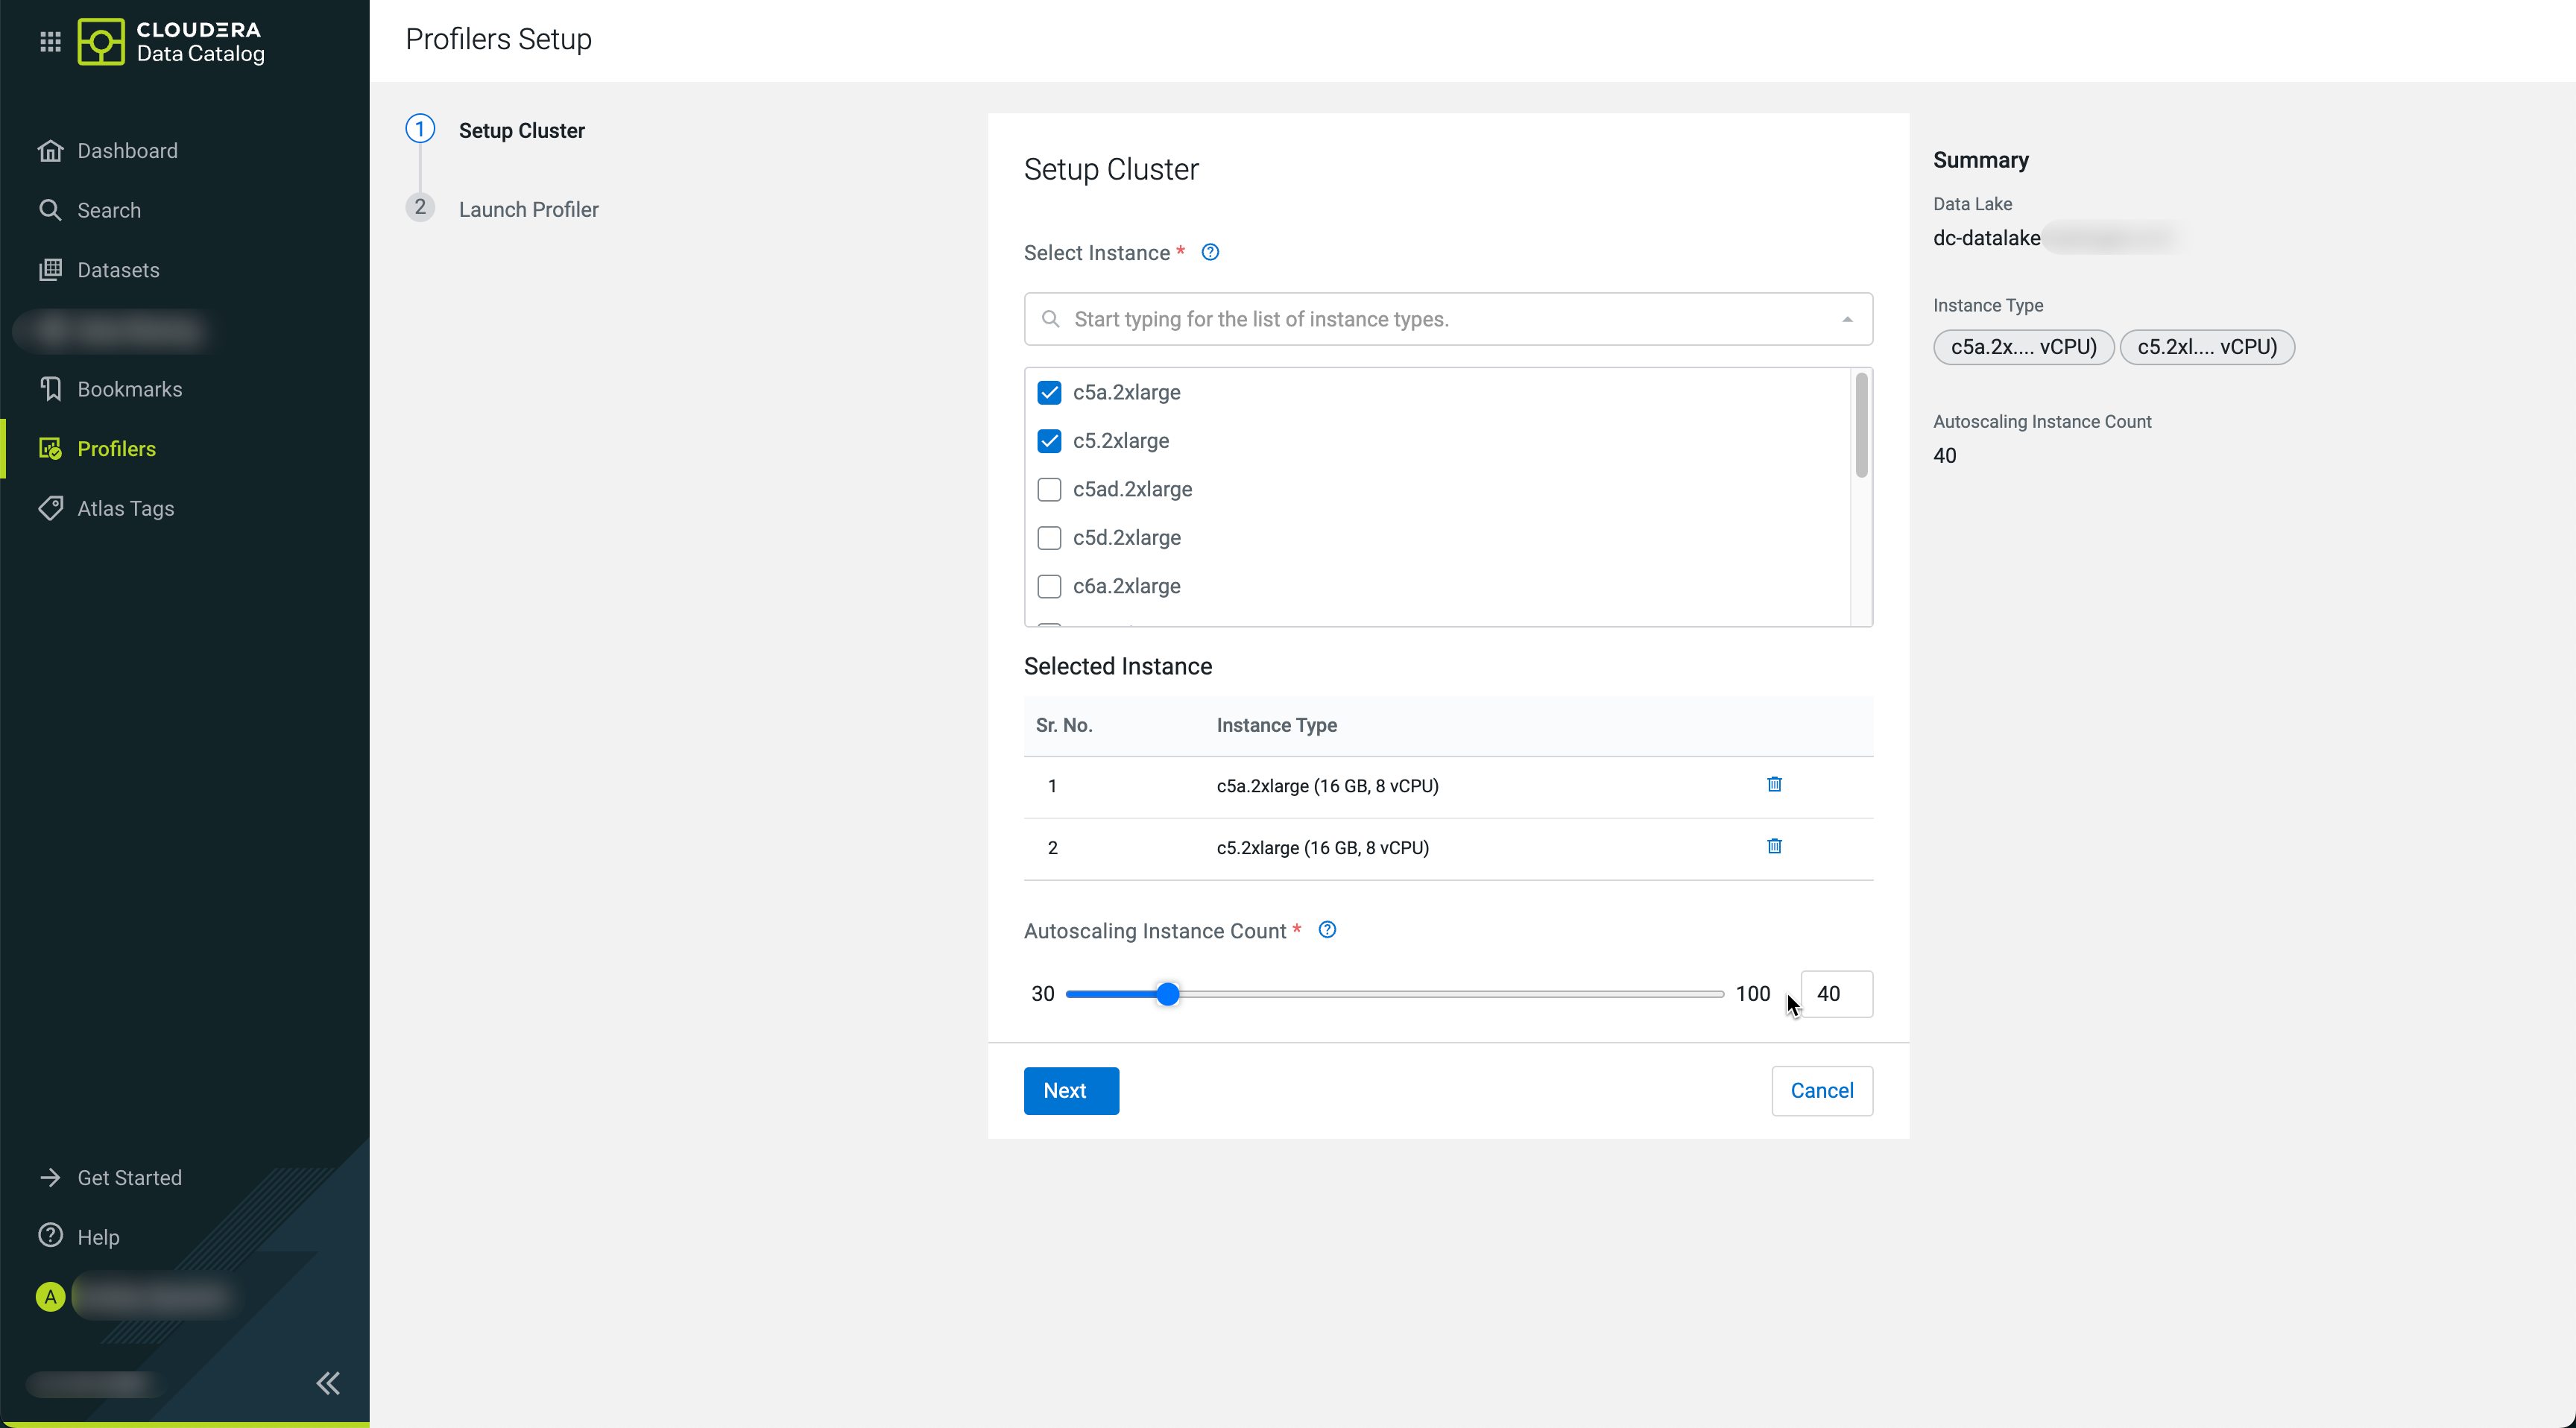
Select your required instances and set the Autoscaling instance
count to define maximum number of workers. The underlying Apache
Spark service will manage the actual number of used instances based on
workload.
Click Next.
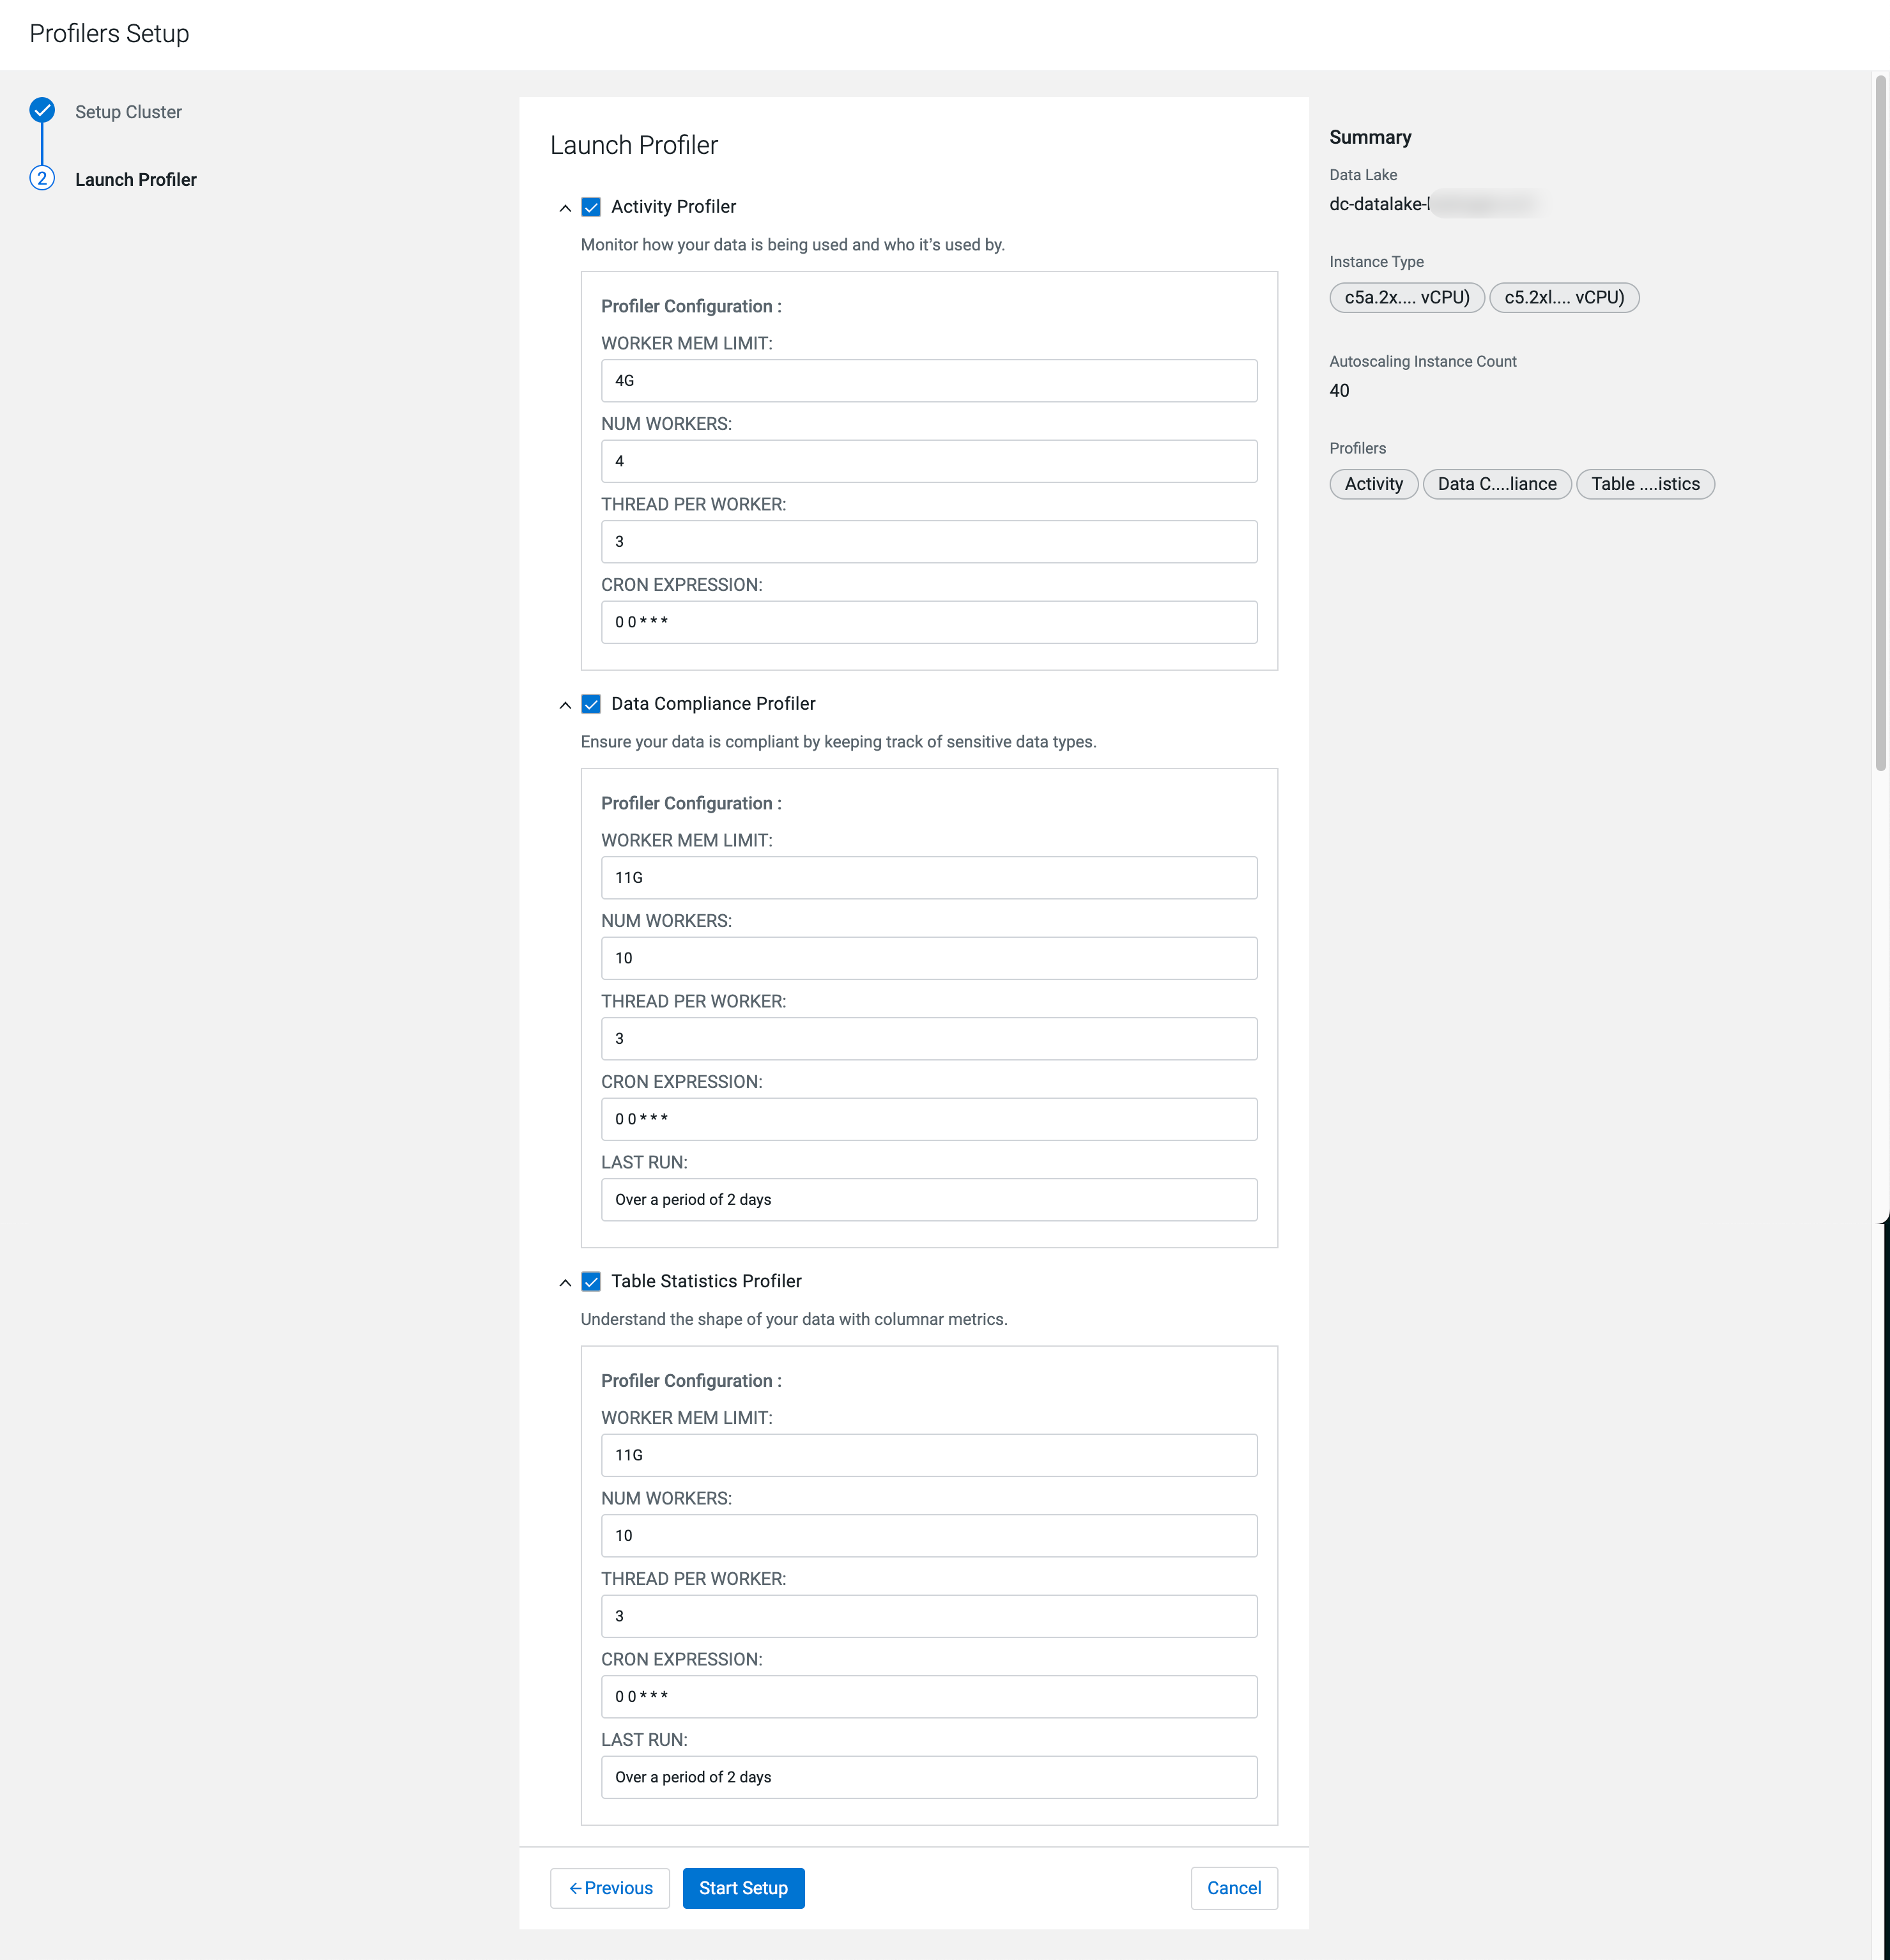
Select the necessary profilers to be launched.
Once the cluster is ready to accept Kubernetes profiler jobs, you can start the
individual profilers by clicking Launch. If the profiler
jobs were scheduled earlier, they will be automatically assigned to the finished
Kubernetes node group.
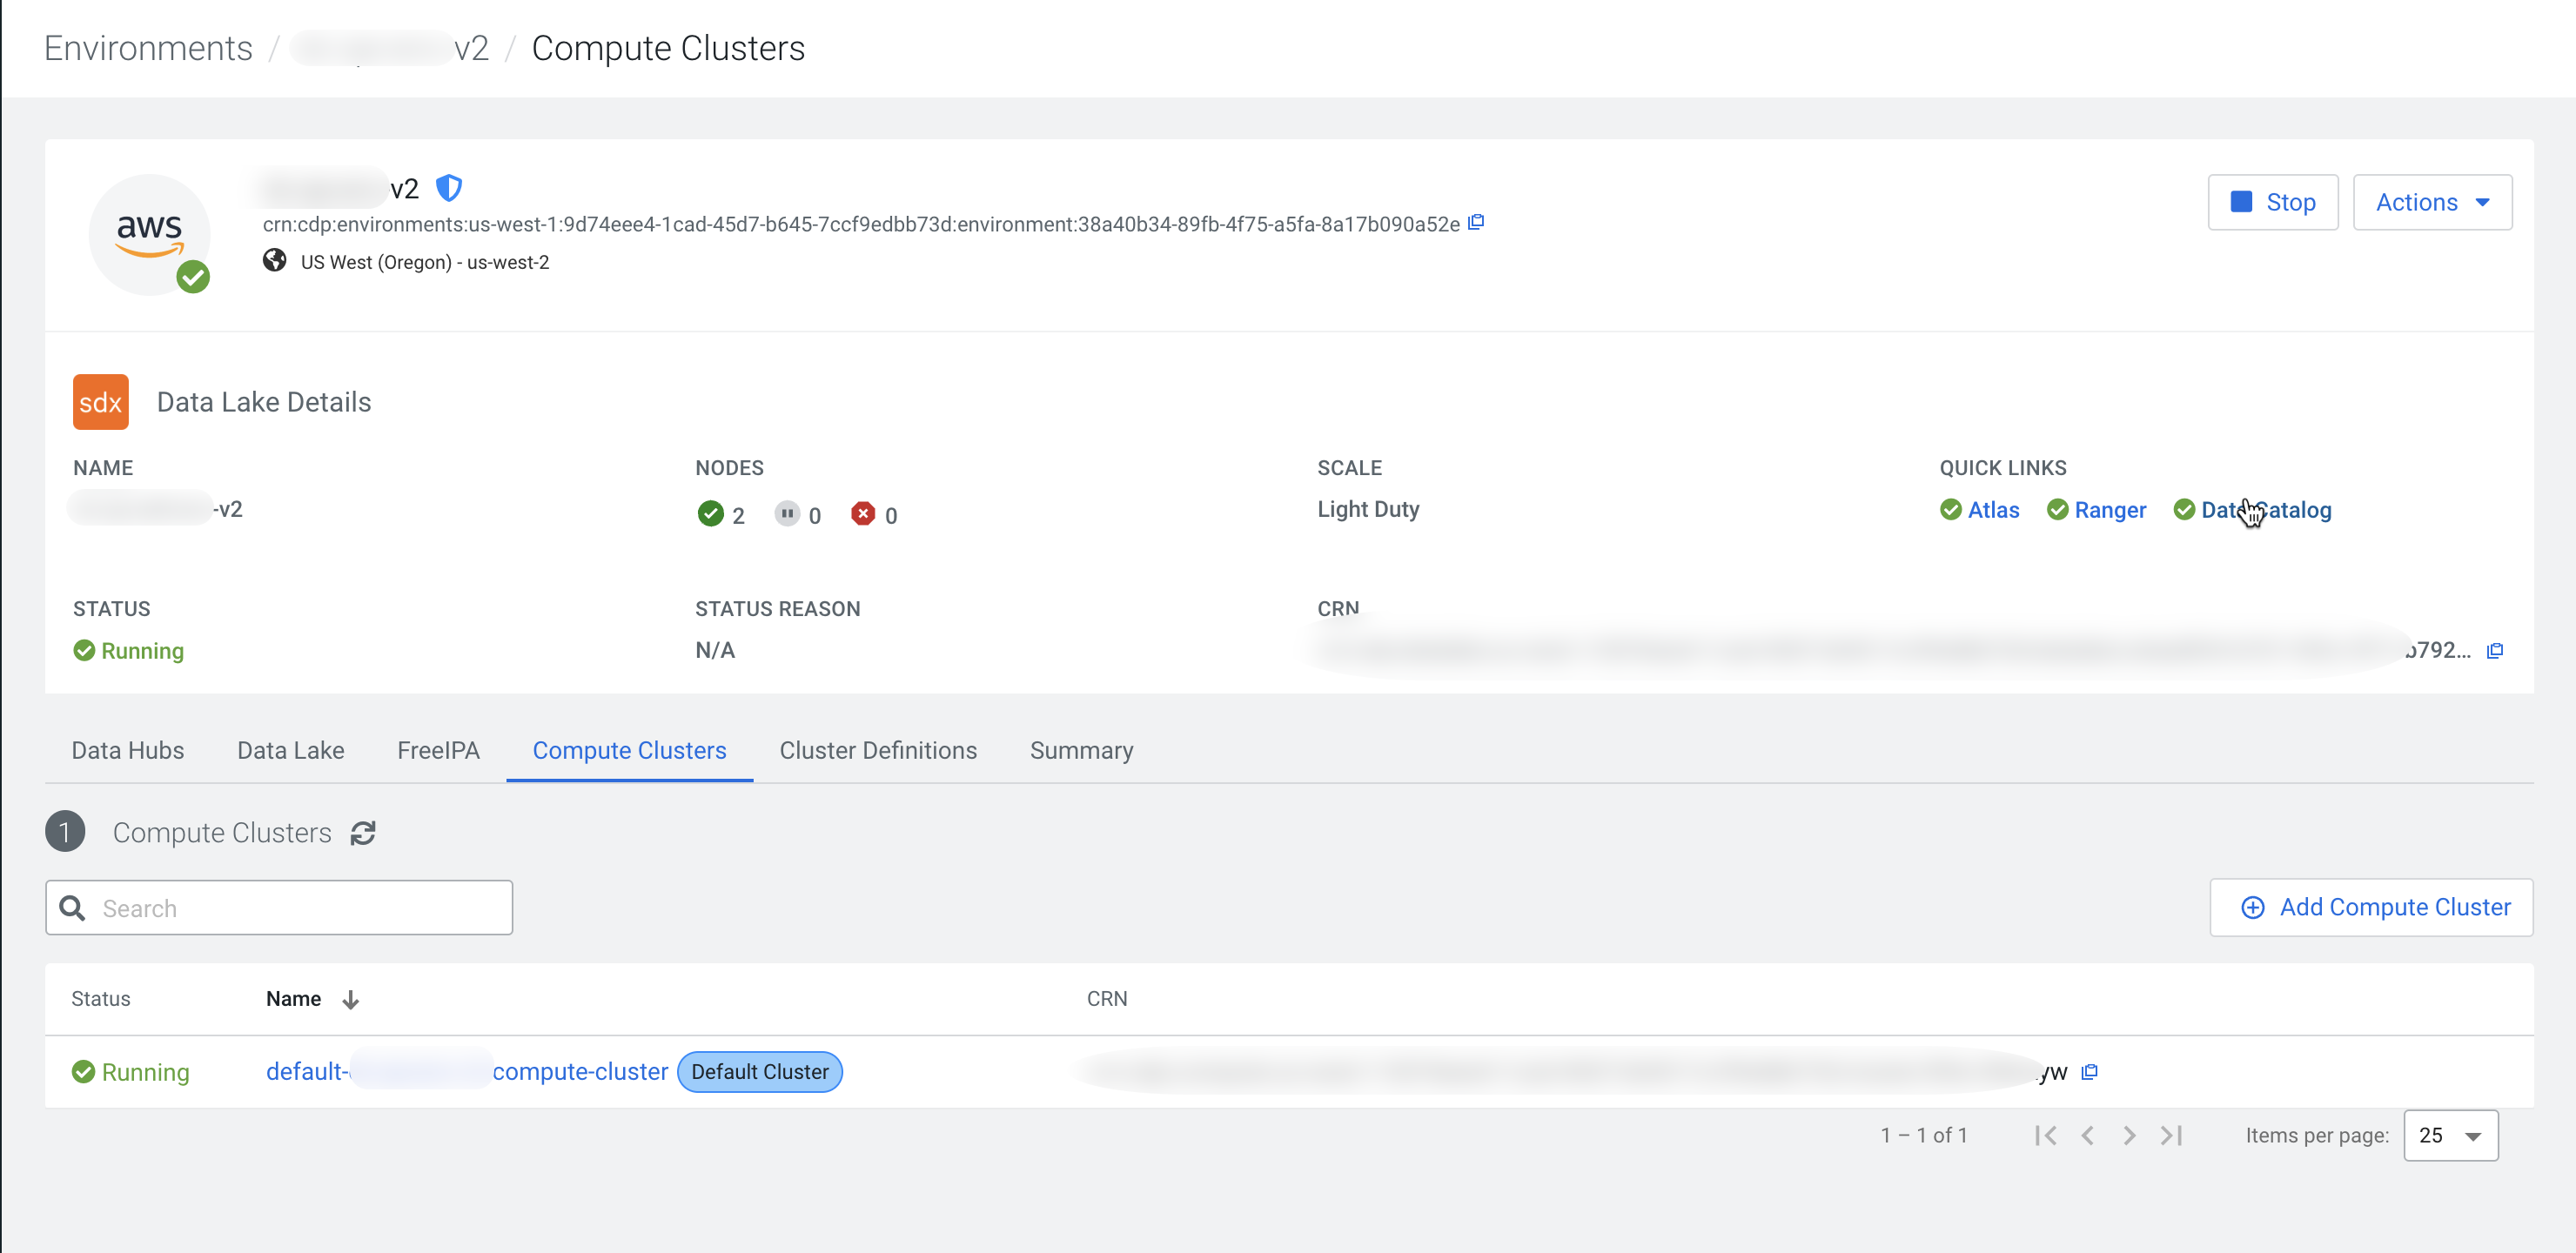
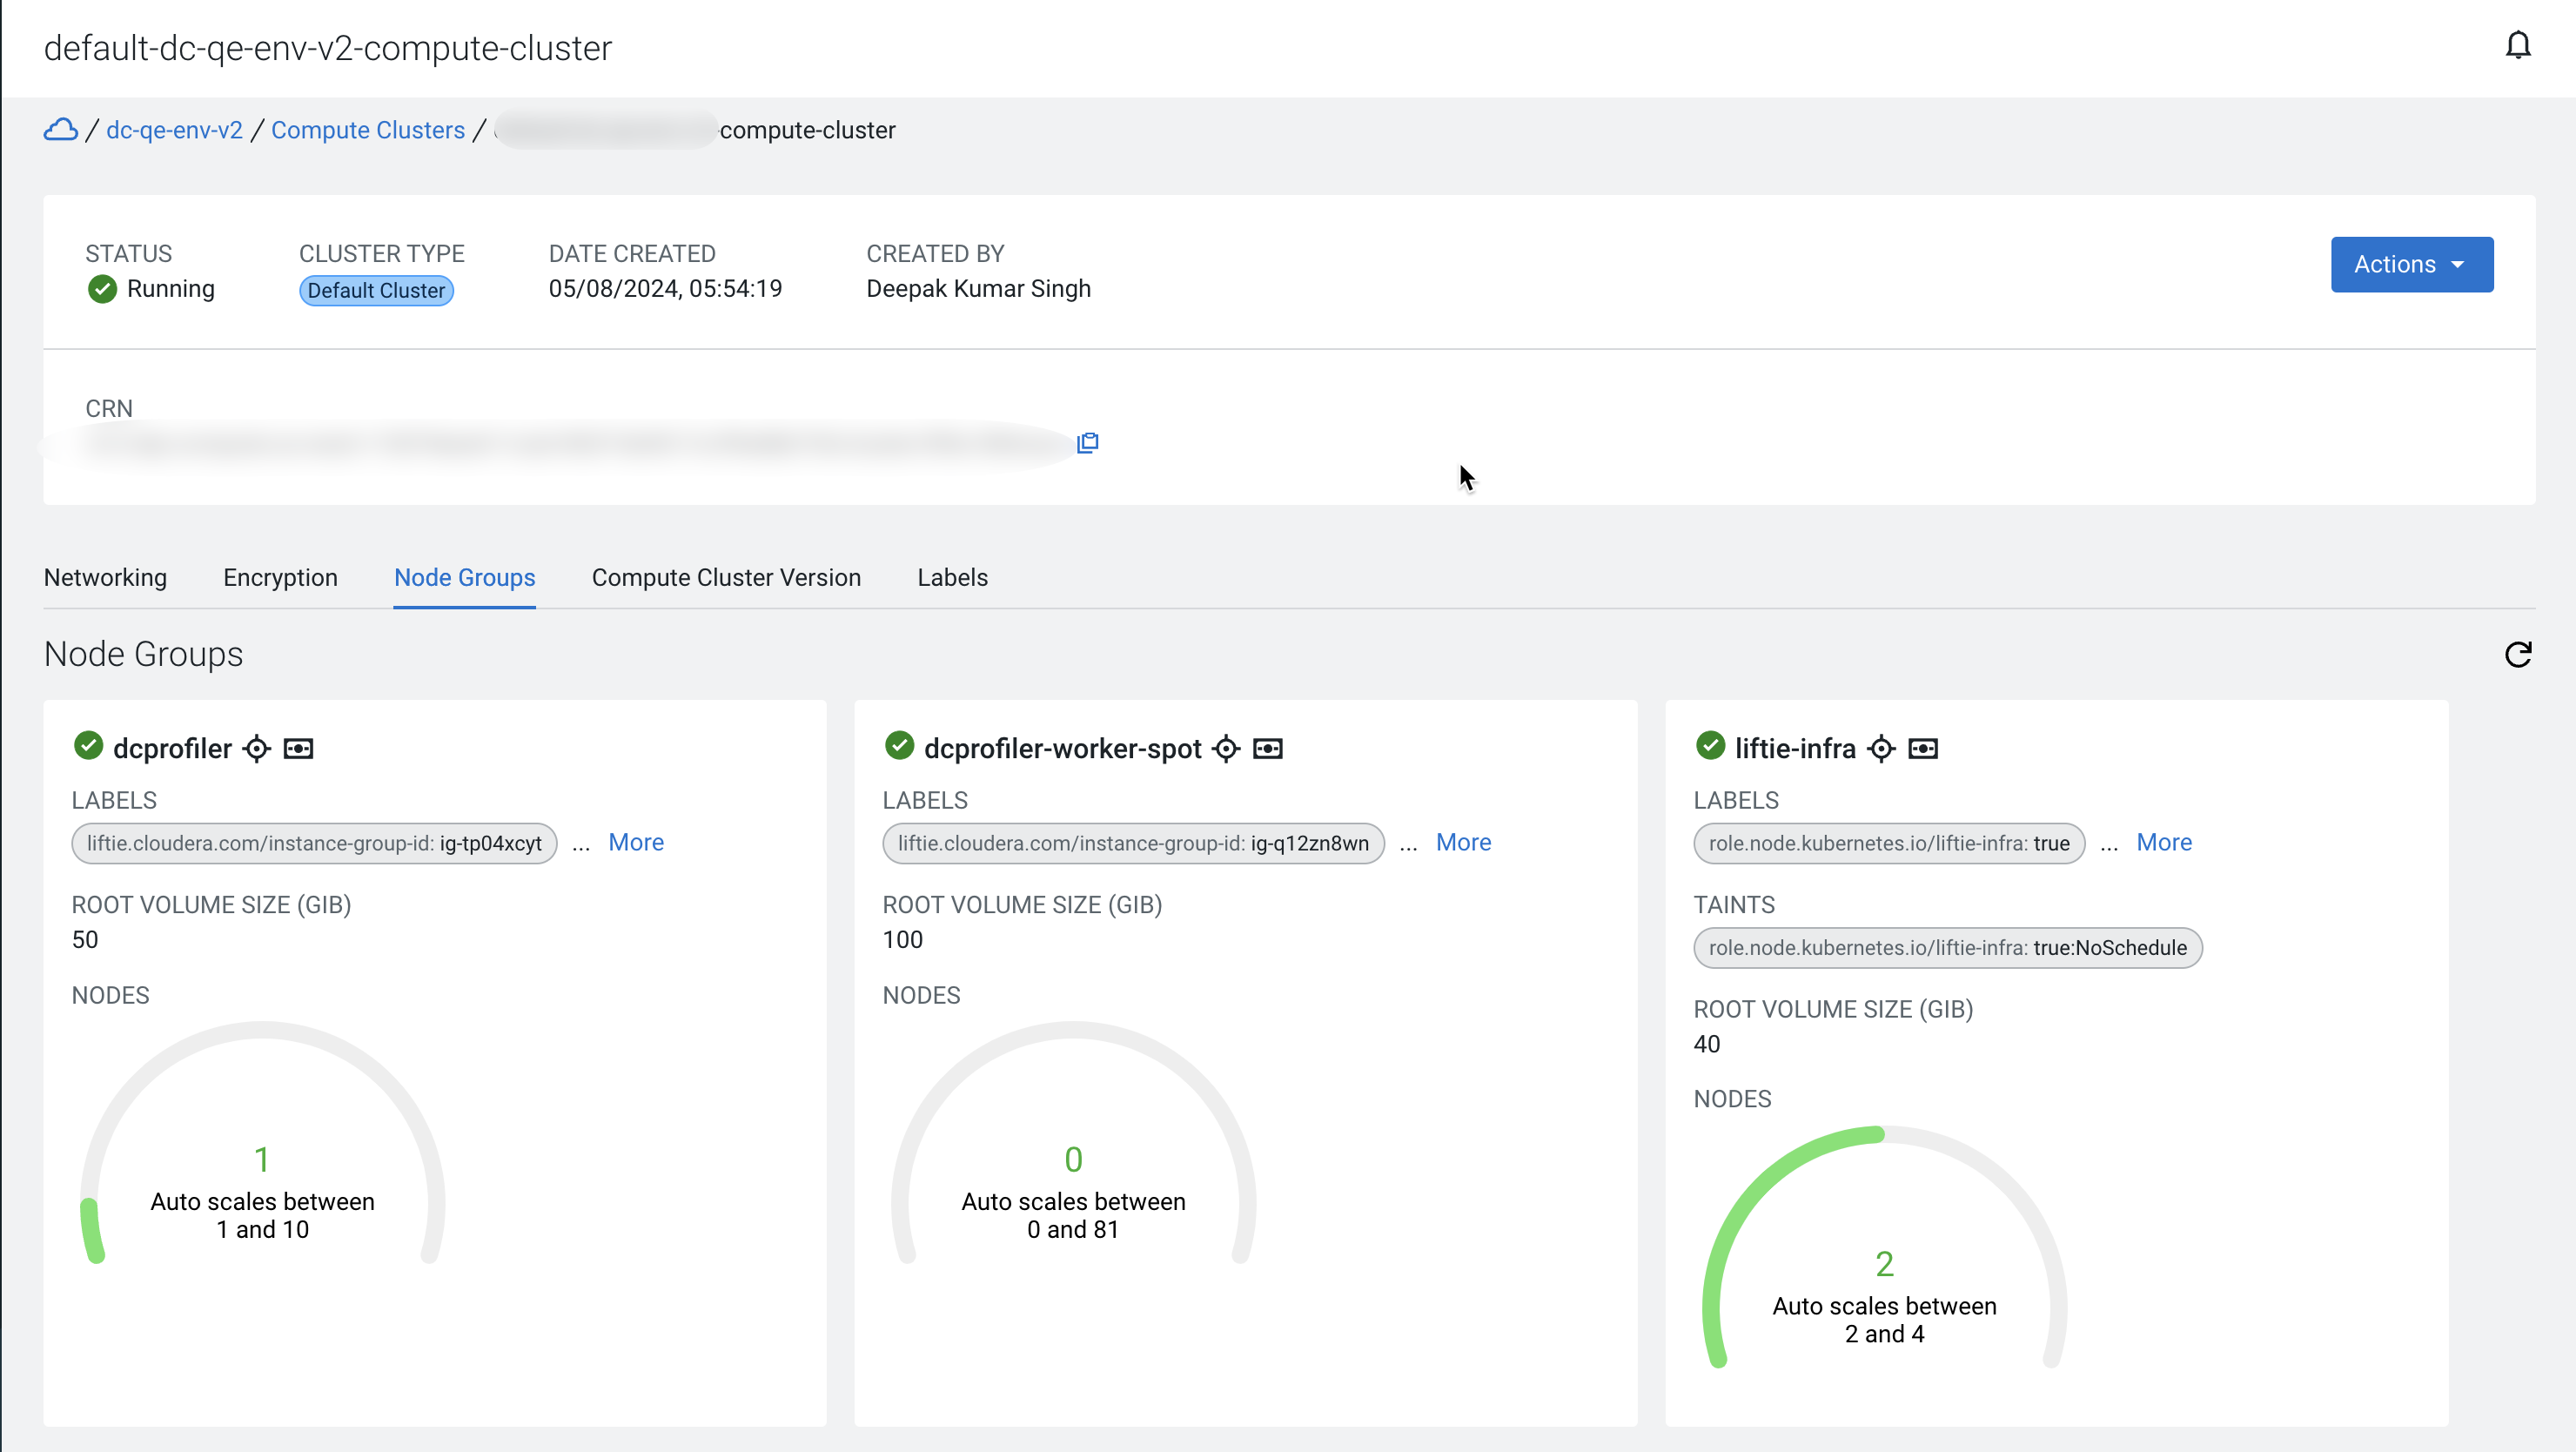
Verifying the profiler cluster for Compute Cluster enabled environments
As a final step, you can verify that the node group is ready for the profiler jobs
under the Cloudera Management Console > Environments > Compute Clusters > Node Groups pane.